

Make this super-cute swallowtail bunting in a snip using materials you've probably already got laying around (win!). Perfect for weddings, parties or just to jazz up your home. Read on for the full tutorial, all images can be enlarged with a click - Enjoy!
Materials:
- Patterned card stock (I used 12x12" but any size will do!)
- Scrap card (for your template)
- Pencil
- Ruler
- Scissors
- Hole-punch
- Transparent reinforcement rings (for strengthening hole-punched documents)
- Twine, Ribbon or String

1 - Create your template.
Using your scrap of card, with your pencil and ruler draw a rectangle 4 inches tall by 3 inches wide. To create your swallow-tail, measure half way across the top width to 1.5 inches, and then draw a dot approximately 1 to 1.5 inches down from here, join the lines and if you're happy with the size, cut out your template!


2 - Trace and cut you flags!
Select the card you'd like to make your bunting from and draw horizontal lines right across the sheet, 4 inches apart - these will act as a guide for your template (mine looks confusing as I used the sheet . Once you've finished, line your template up in one corner and trace around the whole thing, moving along the line as you go until you've filled the whole page! Because I used 12" X 12" card stock I could easily get 12 flags from each sheet! When you're done, get your scissors out and start cutting those flags out until you have as many as you need! I used 36 flags for a 12ft garland!


3 - Put your flags in order!
Now's the time to choose the order in which you'd like your bunting displayed! Lay out your flags side by side until you find a combination you're happy with. I ended up with around 4 flags each of 12 different patterns, and since I wanted to make long bunting to run across my bedroom wall I've repeated the sequence three times!

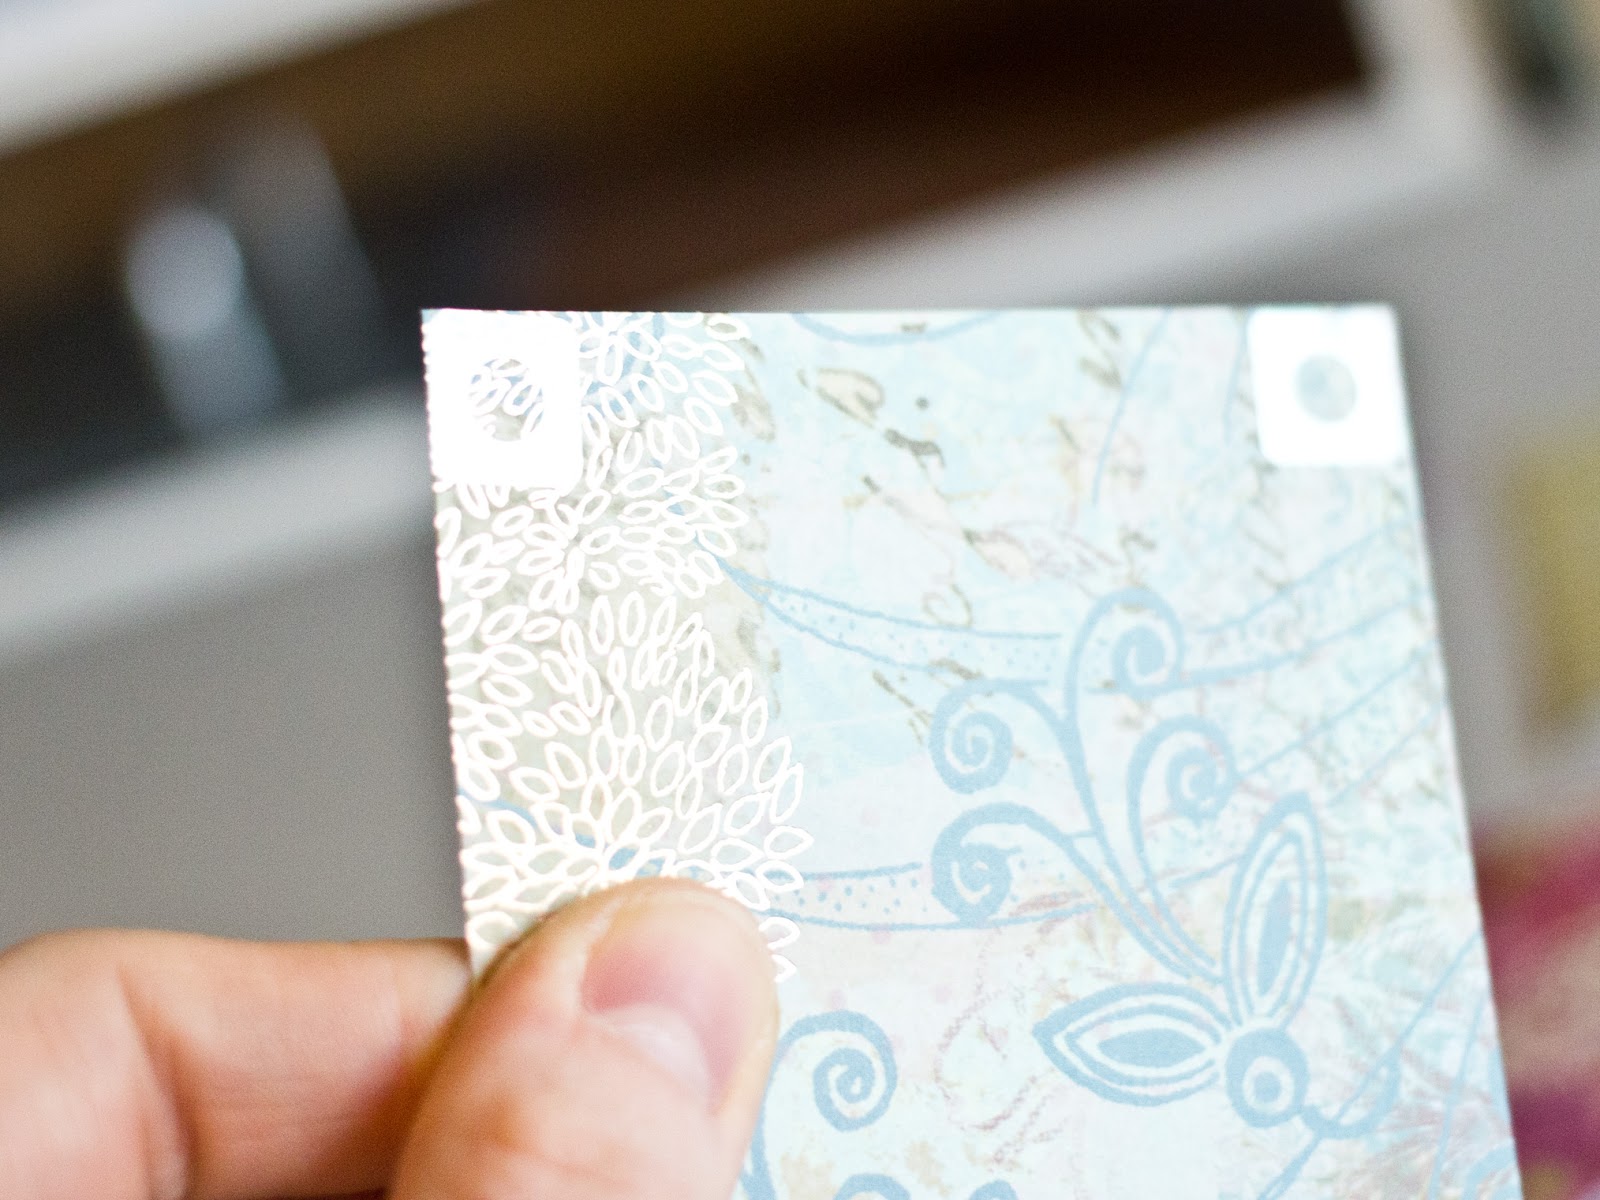
4 - Attach your reinforcers and punch some holes!
Technically this step isn't technically necessary to finish the project, but to ensure your bunting lasts a little longer than 1 or 2 parties or house moves before going scruffy I do recommend taking the extra step to reinforce your punched holes!
I used Herlitz branded transparent reinforcers because they're available in squares rather than circles which made it easy to line them up when attaching them to my flags. They also come in a handy dispenser! One by one, add reinforcement rings to the upper corners of one side of each flag.


Next, take your hole punch and carefully punch out the centre of the reinforcer. A regular office hole punch will work well but if you're using a multi-sized one like me, make sure you have it set to the the closest size to the reinforcers as you can.


Once you're done, flip your flags over and attach a second set of reinforcers using the newly-punched hole as a guide!

4 - Make your bunting!
Nearly there! Now all you need to do is add them to your string / twine / ribbon ready for hanging! I used a skinny hemp cord but jute twine would work well too! I made a long garland approximately 12 ft long Lay your flags out in order and one at a time, start weaving the twine in and out of each hole, pushing the flags along the twine as you go. The rough finish of the hemp help will help keep your flags in place but can fray easily at your threading end - to fix this, wrap a small piece of sticky-tape around the end like a shoelace


4 - Arrange and hang your bunting!
Finally, arrange your flags along the twine until you're happy with how it looks. I spread mine out with around a 1 inch gap between each flag and tied a loop knot at either end for hanging, I then used these tiny command hooks to display on my wall (they're meant for tidying cables but perfect for lightweight crafts such as this!)


♥
No comments:
Post a Comment
I always love to hear my readers thoughts, please do comment if you have the time x